Mysql版本:8.0.39-0ubuntu0.22.04.1
其他版本理论支持,需要试验~
前提条件:#
1
| SHOW VARIABLES LIKE 'log_bin';
|

1
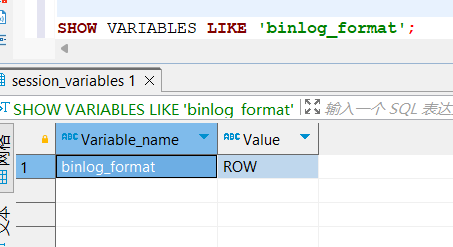
| SHOW VARIABLES LIKE 'binlog_format';
|
1
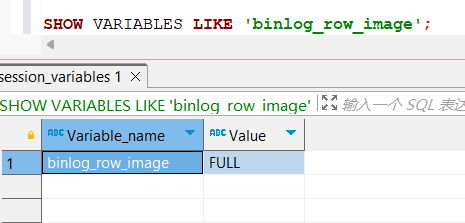
| SHOW VARIABLES LIKE 'binlog_row_image';
|
定位binlog位置及确认当前binlog#
1
| SHOW VARIABLES LIKE '%log_bin_basename%';
|
| Variable_name | Value |
|---|
| log_bin_basename | /var/lib/mysql/binlog |
此处说明binlog的存放路径为/var/lib/mysql/
| File | Position | … |
|---|
| binlog.000005 | 791631 | … |
此处说明当前binlog为binlog.000005
通过mysqlbinlog转换binlog,并查找关键字#
1
2
3
| sudo mysqlbinlog /var/lib/mysql/binlog.000005 | less
# 接着输入 /表名 再回车,定位删除日志位置
# 如果查到了关键词但是并非删除日志,按 n 往下继续翻,查完按 q 退出
|

安装MyFlash#
 1
 2
 3
 4
 5
 6
 7
 8
 9
10
11
12
13
14
| # 下载源码(https://github.com/Meituan-Dianping/MyFlash)
wget -O MyFlash-master.zip \
https://codeload.github.com/Meituan-Dianping/MyFlash/zip/refs/heads/master
# 解压源码
unzip MyFlash-master.zip
# 安装gcc
yum install gcc -y
# 编译
cd MyFlash-master
chmod +x build.sh
./build.sh
|
使用MyFlash生成恢复数据库二进制文件#
1
2
3
4
5
6
7
8
9
| cd MyFlash-master/binary/
# sqlTypes:指定需要回滚的 sql 类型。目前支持的过滤类型是 INSERT, UPDATE, DELETE。此处指定“DELETE”
# start-position,stop-position为binlog中根据关键词查到的数字,根据上图得出为504664,553652
# binlogFileNames,例如:/root/binlog.000005
# 最后生成的文件为当前目录下的recover.log.flashback
./flashback --databaseNames="库名" --tableNames="表名" --sqlTypes="DELETE" \
--start-position=开始位置 --stop-position=结束位置 --binlogFileNames=binlog位置 \
--outBinlogFileNameBase=recover.log
|
如果使用了开始结束位置参数,执行此命令可能会出现报错Segmentation fault (core dumped),解决方案为删除开始、结束位置参数,等处理完后再手工筛除recover中数据
使用mysqlbinlog转换恢复文件并做数据导入#
1
2
| # 输入密码即可导入,无报错即导入成功
mysqlbinlog recover.log.flashback | sudo mysql -uroot -p
|
验证数据是否恢复#